
Add an extra layer of flavor to savory dishes by pre-roasting butternut squash in a conventional oven. This oil-free roasting method is an easy way to intensify the natural sweetness of any winter squash while remaining whole food plant-based compliant. You can roast your squash days ahead of time and refrigerate or freeze it to enjoy later.
PRE-ROASTING IS GREAT FOR OIL FREE COOKING
Embracing a whole food plant-based no oil approach to cooking doesn’t mean giving up on layered complex flavors. We just need to use a different set of techniques and ingredients in order to achieve that complexity. One example is oil-free sautéing with broth, water, or other liquids. When done patiently, this oil-free technique accomplishes a type of caramelization that’s not quite at the level of what you get when you use oil, but it’s pretty darn close. The tradeoff is well worth it when you consider the health benefits! And yet there’s no need to be complacent about food that’s almost but not quite as flavorful. That’s because there are other ways to level up the flavor. By pre-roasting veggies like butternut squash we are not only compensating for the absence of oil in other parts of a recipe, but also adding a distinct sweetness and texture. Pre-roasted ingredients help us save time during the cooking process while providing a great way to store and preserve fresh ingredients for future use. If you have purchased, or grown, a butternut squash that’s larger than what you need for today’s recipe, you can peel, cube and roast all of it at once and save the extra portions for another time. If you’re planning to use them over the next several days, roasted squash pieces can be stored in a sealed refrigerated container. Or freeze them if you don’t think you’ll need them again any time soon.
TO PEEL OR NOT TO PEEL
It’s not always necessary to peel butternut squash and there are advantages to leaving any and all winter squash unpeeled. In my opinion, the greatest advantage of not peeling winter squash is that it saves time. If the squash is going to be puréed then you should always peel it. So if the squash you’re roasting is going to end up in a creamy soup, sauce, smoothie or anything else that gets processed, then absolutely peel it. But when squash is to be used as an ingredient in a stew, a chunky soup, salad or any other non-creamy dish, then peeling it is a matter of personal preference.
I’m originally from Argentina where butternut squash is a culinary staple. In traditional Argentine stews, or when cooked on the grill, Argentines almost never peel any winter squash. And yet in spite of my cultural heritage, I usually prefer to peel butternut squash when I’m prepping it for roasting as an ingredient for savory dishes. That’s because peeling it allows for a greater surface area to become caramelized sweet and flavorful.


CUBE SIZING
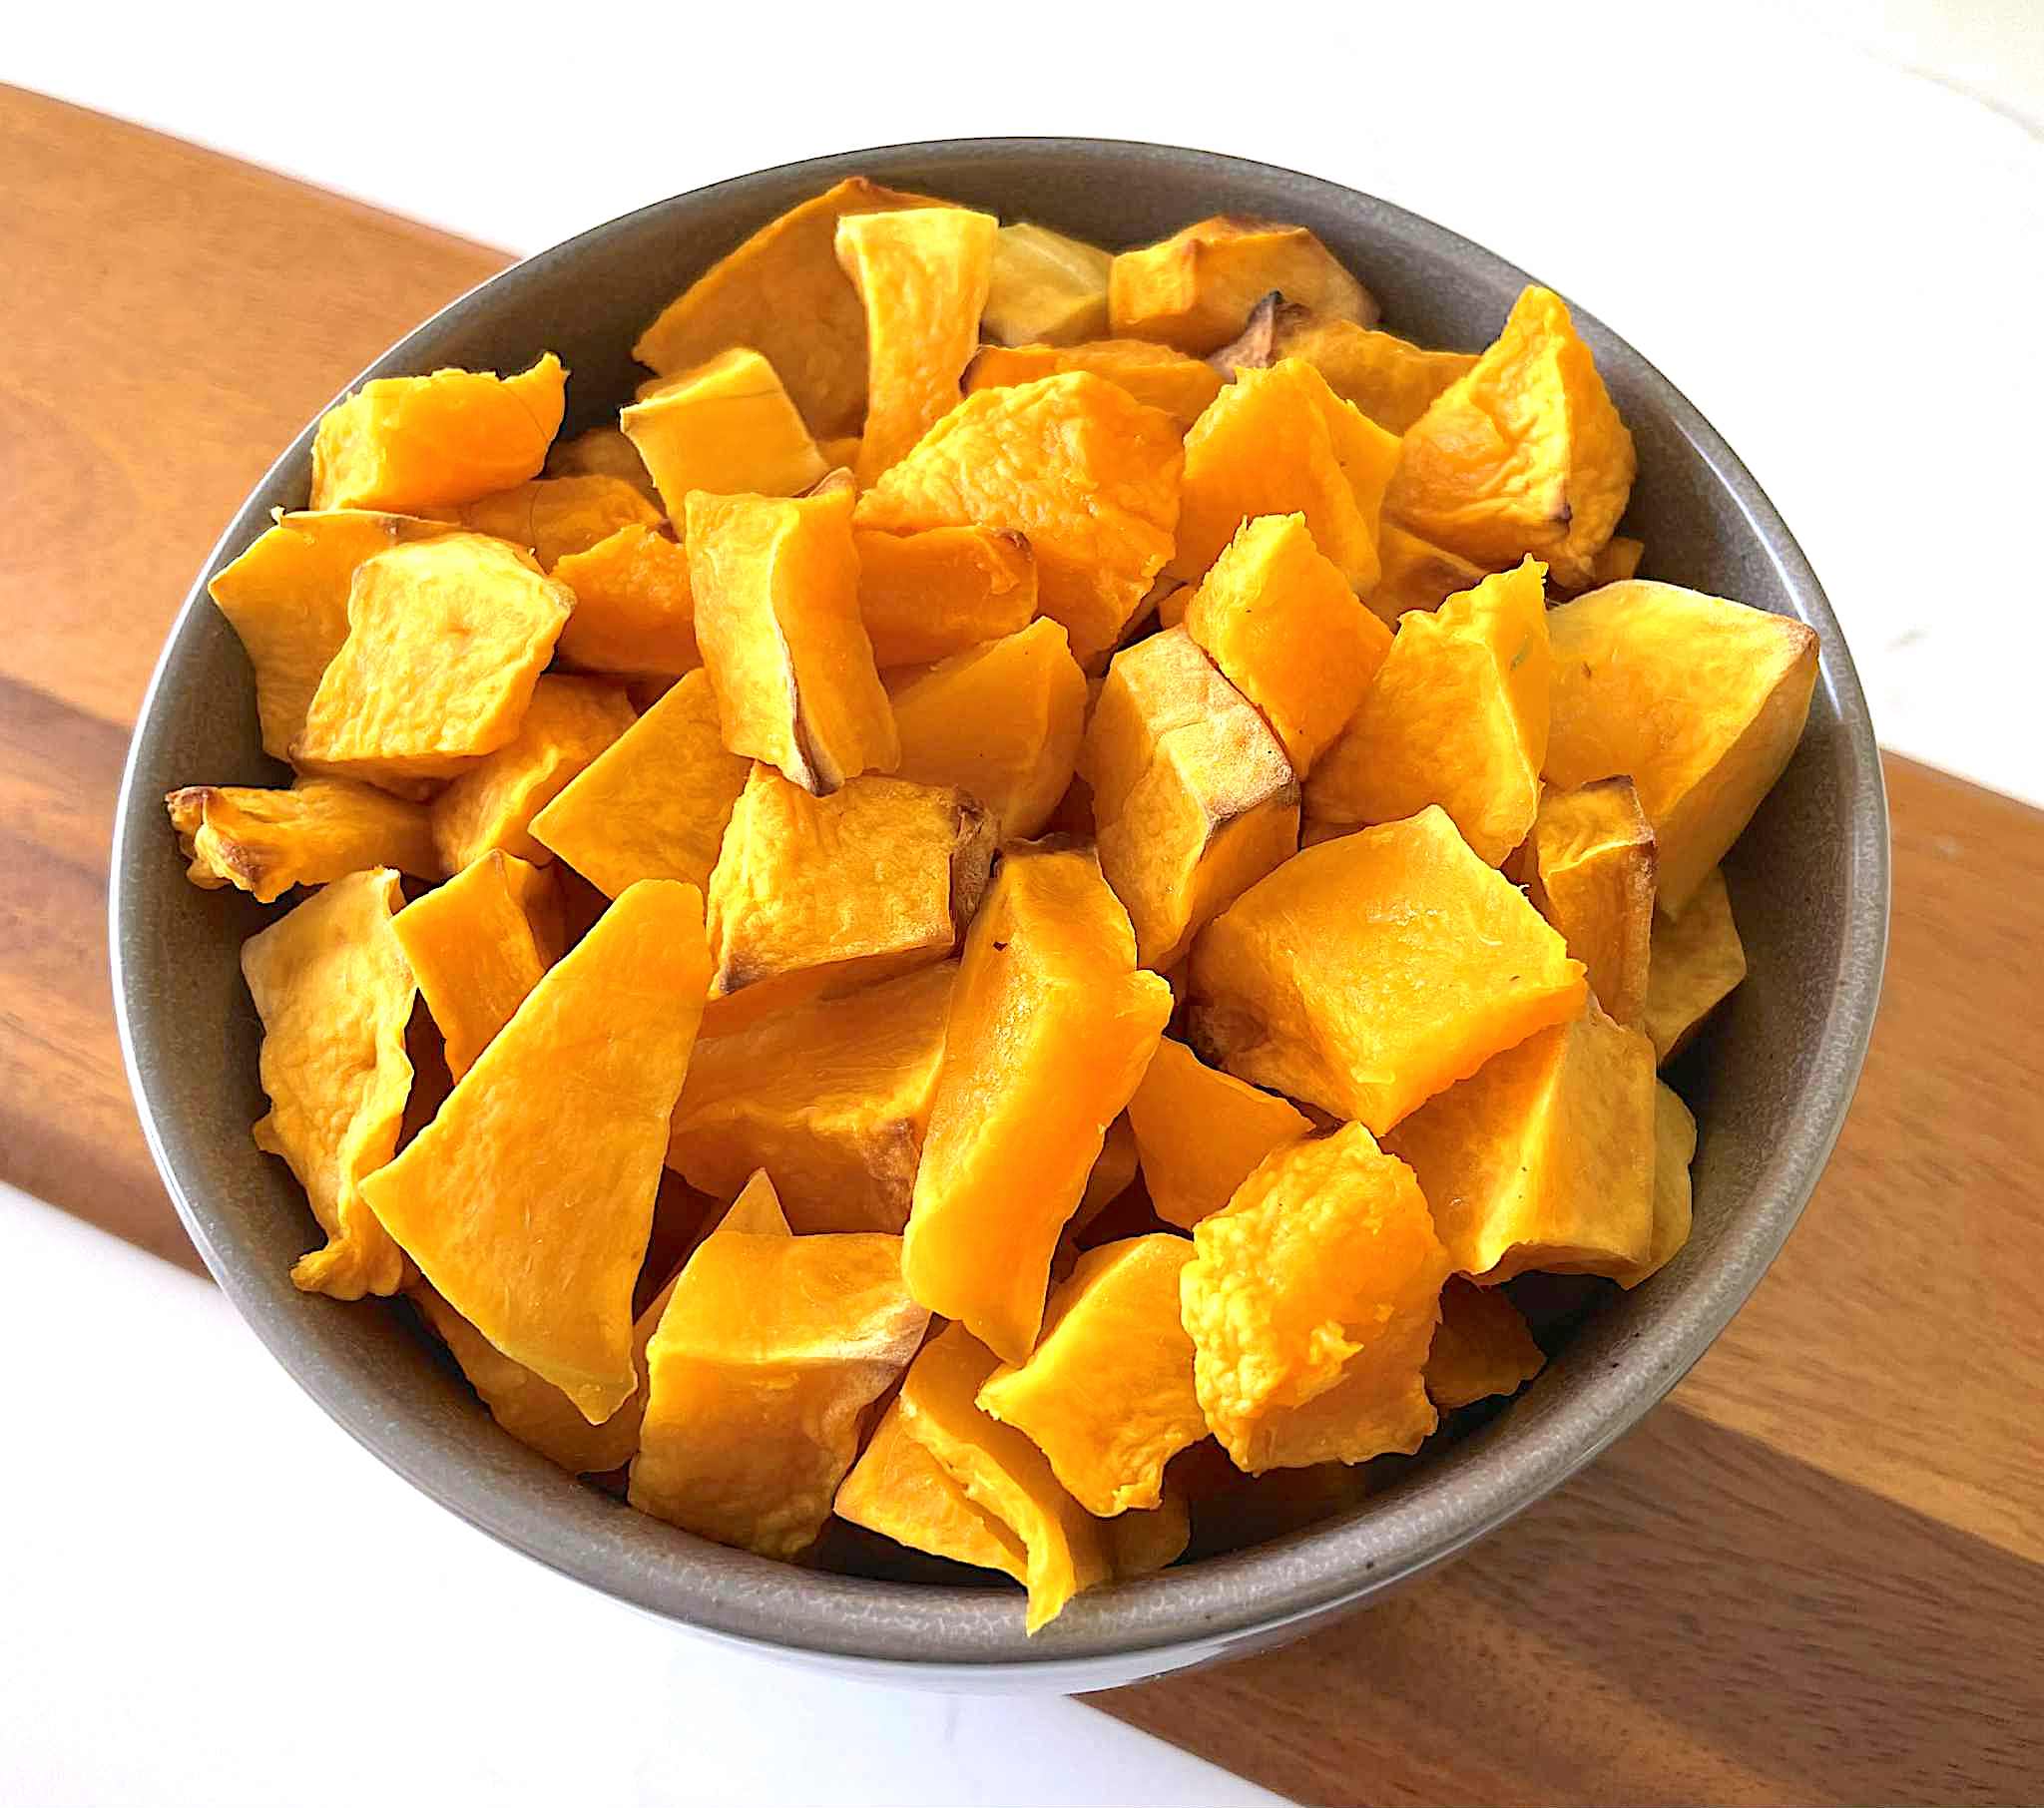
The size of the butternut squash pieces is completely up to you and will depend on what you’re planning to do with them after they’re cooked. I usually prefer small bite size pieces. Smaller pieces cook more quickly and they allow a greater amount of caramelization. That’s because when pieces are small the surface area directly exposed to the heat of the pan represents a larger portion of the surface area. Smaller pieces will have a chewier texture, something that may or may not be desirable. But if the roasted pieces are eventually added to a soup or a stew, then they’ll be partially rehydrated. Another option is to roast larger slices and chop them after they’re cooked. The chunks cut after larger pieces are roasted will be dry and chewy on some of the sides and moist and tender on others. This can be very nice if you’re planning to use the roasted squash in a salad or stir fry.
OPTIMUM BAKING TEMPERATURE
Although many recipes suggest higher temperatures, I like roasting cubed or sliced butternut squash at 375 °F (190 °C). This medium-high temperature achieves a nice level of caramelization without burnt edges. The total baking time in my oven is about 40 minutes. Cubes or slices are arranged in a single layer over a parchment paper lined baking sheet and turned over once halfway through the baking process. Of course you can cook them a little longer if you want butternut squash that’s a bit crispier. Batches with greater quantities of squash can take a few minutes longer to cook than batches with fewer pieces that are spread widely apart.


STORING ROASTED SQUASH
Roasted butternut squash can be stored in the fridge in a sealed container for up to five days or in the freezer for up to a year. For those of us who grow our own veggies, freezing is a wonderful way to preserve the harvest especially considering that cooked butternut squash takes up significantly less freezer space than it does in its pre-cooked form.
more recipes you’ll love


Oven Roasted Butternut Squash Cubed or Sliced Oil-Free

Equipment
- Baking Sheet
- Parchment Paper
Ingredients
- 5 to 30 ounces butternut squash, seeds removed (peeling is optional)*
Instructions
- Preheat oven to 375 ℉ (190 ℃) and line a baking sheet with parchment paper.
- Cube or slice butternut squash. The exact size and shape of the pieces is up to you but the thickness should be somewhere between ½ and 1 inch. I usually chop mine into approximately ¾ inch cubes.
- Arrange cubes or slices in a single layer over the parchment paper lined baking sheet.
- Place baking sheet in preheated 375 ℉ (190 ℃) oven and bake for 40 minutes turning pieces over once halfway through baking to ensure even browning.
- Remove from the oven and check for doneness. If pieces are not as soft or as crispy as desired, turn them over and bake for another 5 minutes and check them again.
- Roasted butternut squash pieces can be added to recipes immediately or stored in the fridge in an airtight container for up to 5 days. They can also be stored in the freezer in a sealed container such as a ziplock bag for up to a year.

Leave a Reply