
Perfectly tender sweet delicious oven-roasted corn on the cob that doesn’t leave a mess in your kitchen. This nearly effortless cooking method maximizes your enjoyment of one of summer’s simpler culinary pleasures.
WHY I LOVE THIS METHOD
Fresh corn is one of my favorite things about summer, so I’ve always been willing to put in a bit of extra effort when it comes to corn preparation. Taking the husk off of fresh corn can be messy and time consuming. I’ve tried buying pre-husked corn that comes in a package. But the problem with fresh corn that’s already had the husk removed is that it’s never as fresh tasting and often it’s actually slimy and about to go bad. This method for preparing corn on the cob by cooking it in the oven with the husk still on guarantees maximum freshness and tender perfection. The moisture from the corn itself does the steaming while locking in the flavor. Best of all, once the corn is fully cooked and slightly cooled, removing the husks and silks is a breeze.
ROASTING TEMPERATURE
In my experience, 375 F° is the perfect temperature for oven-roasting corn in its husk. At this temperature, it takes 30 minutes to get most batches of corn cooked to where I want them. Ovens vary, but in my oven 350 F° is too low and takes too long, at least 40 minutes. You may want to experiment with the right oven temperature for your oven. Some recipes suggest going as high as 400 F°.
BAKING SHEET PREFERRED
As corn kernels cook inside their husks, steam is released which creates condensation that can drip onto the bottom of your oven. For this reason, I prefer to roast my corn on a baking sheet. I also like to use a piece of parchment paper between my corn and baking sheet, but that’s entirely optional.
PREPPING CORN FOR ROASTING
Only minimal preparation is required, and there’s no need to wash anything ahead of time because you’ll eventually be peeling away and discarding the husk. If you’d like, while your oven is pre-heating, you can trim off the tips of your corn if they haven’t already been trimmed off at the store. Trimming prevents dried out tips from burning during the cooking process which can create smoke in your oven. Once tips are trimmed all you need to do is arrange ears of corn on a baking sheet before popping them in the oven


NO NEED TO TURN
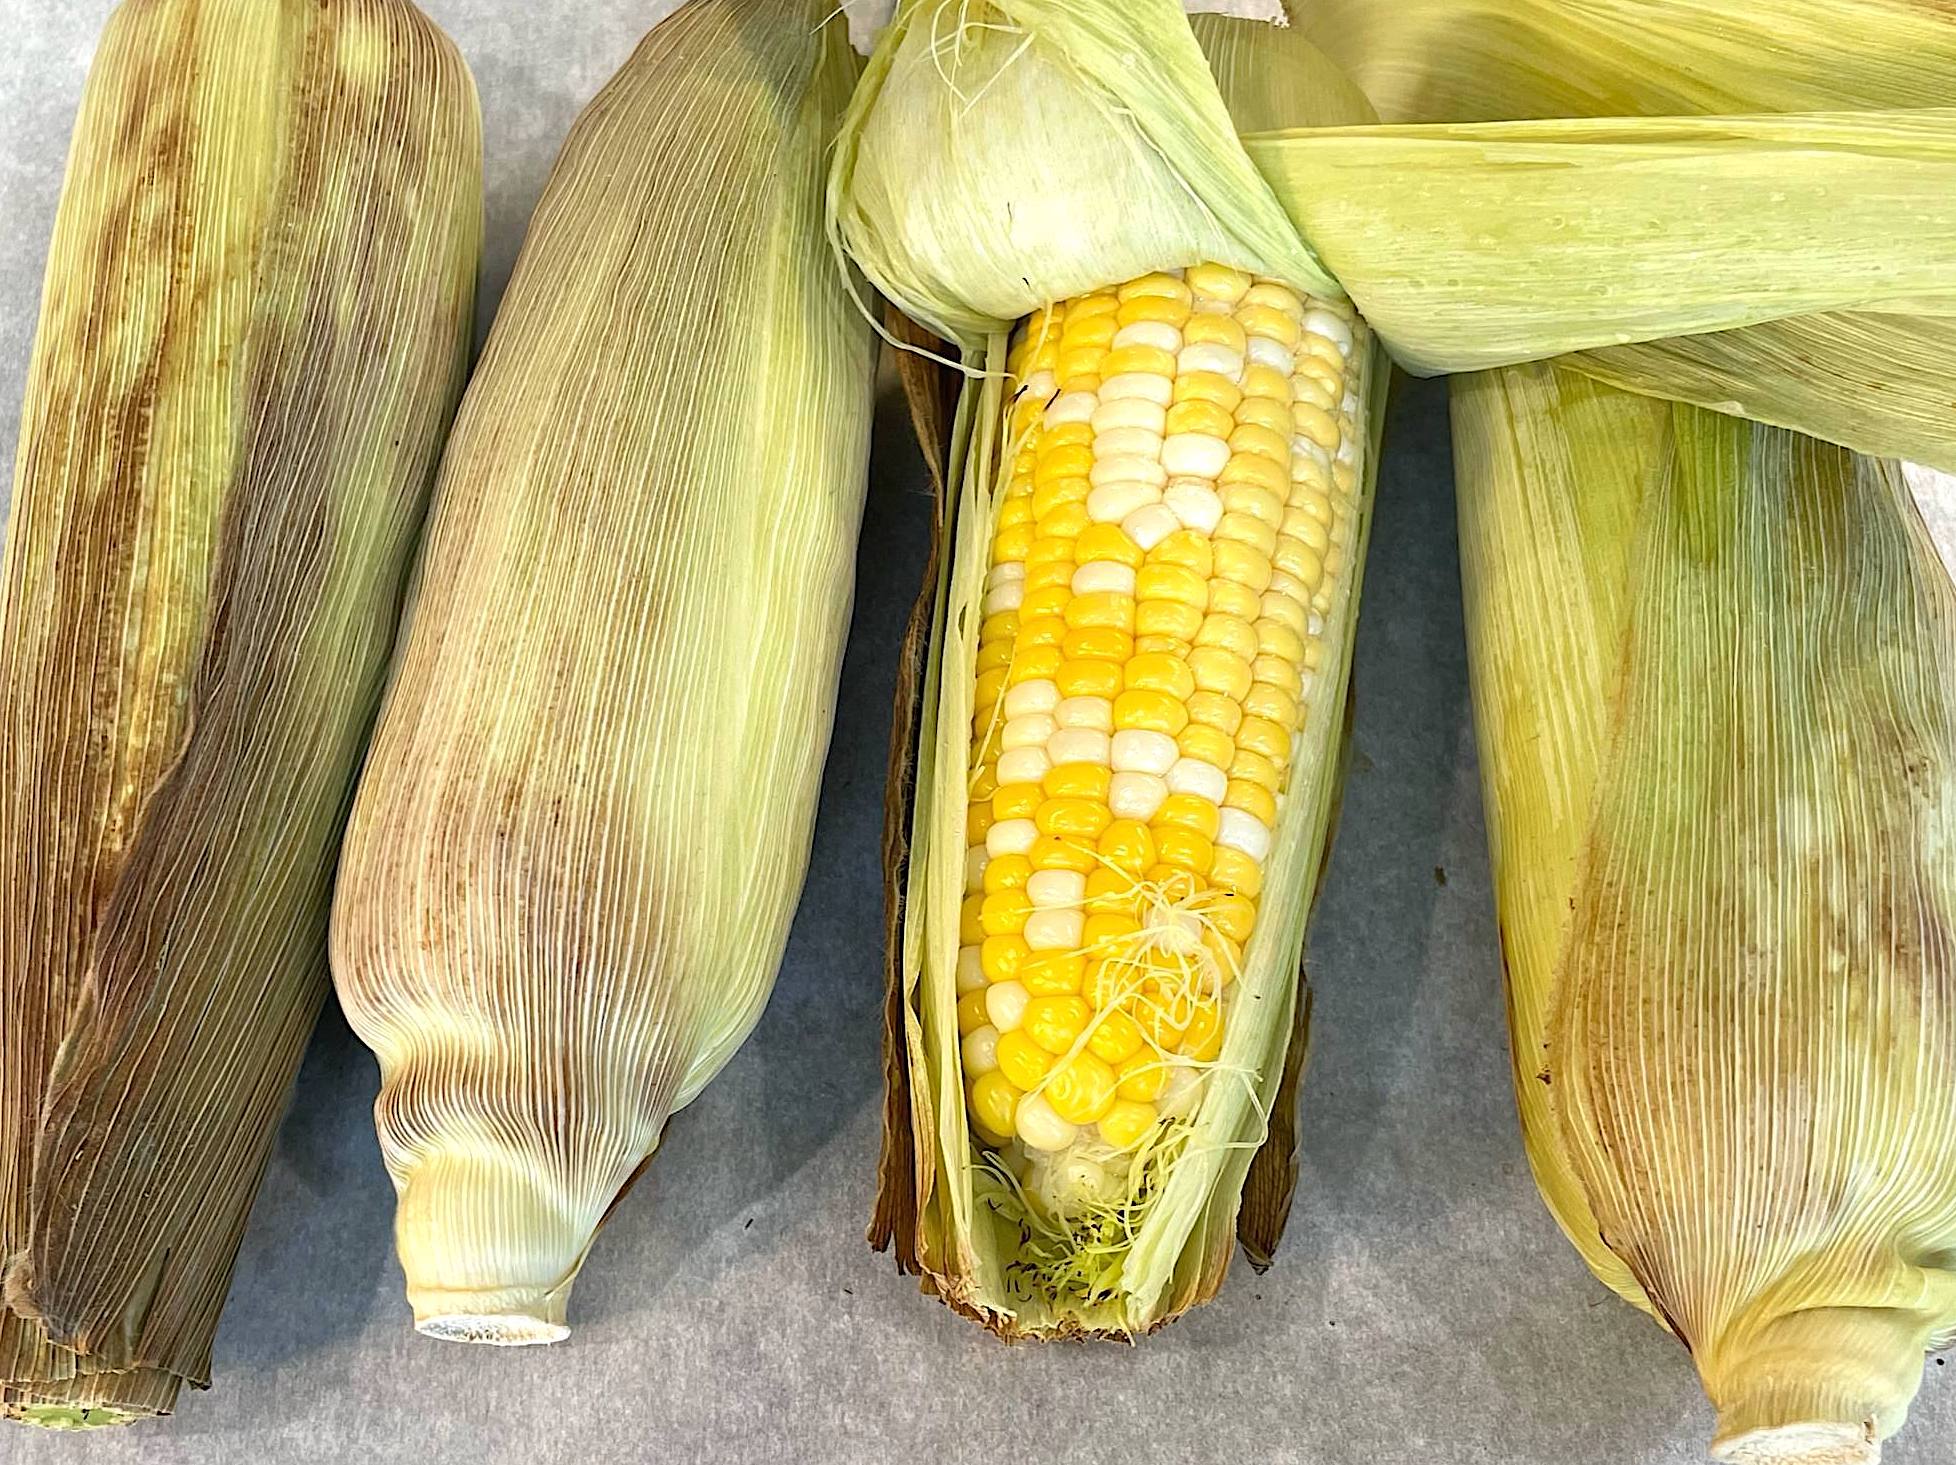
Once your corn is in the oven there’s no need to turn it during the cooking process. The outer layers of the husks will get quite dark and some may fall off. When your corn is done, kernels will be swollen and shiny. Some kernels may also get slightly brown.


COOKED CORN IN RECIPES
When I get home with a haul of fresh corn from the grocery store or farmer’s market, I like to bake it all up in the oven as soon as possible. Then I store most of my cooked corn in the fridge with the husk still on to use in recipes during the next few days or up to a week. Two of my favorite ways to use oven baked corn is to add kernels to salads or hummus.
more vegetable prep ideas you’ll love


Easiest Best Corn on the Cob Roasted in Oven with Husks

Equipment
- Conventional Oven
- Baking Sheet
Ingredients
- 1 to 8 ears of corn (with husk)
Instructions
- Preheat oven to 375 ℉
- While the oven is heating, you can trim off narrow tips of husks and silks using a sharp knife or scissors. These dry narrow tips sometimes burn and create smoke in your oven. Note that sometimes the corn you buy has already been trimmed this way at the store.
- Arrange ears of corn on baking sheet and bake at 375 ℉ for 30 minutes. When cooked, kernels should look plump and shiny. Some kernels may be slightly browned.
- Remove from the oven and allow corn to cool for at least a few minutes before removing husks and silks. The cooling is mostly to keep you from getting steam burns while peeling.
- If you don't need to serve corn right away, you can store it in the fridge while still unhusked to retain moisture and flavor.

Leave a Reply